Glamping promises the best of both worlds: a real bed and cozy lighting in the middle of nature. Yet anyone who has shivered through a night in a canvas tent knows how quickly a luxury escape can fall apart. Forget one key item, like a warm layer or a reliable light, and you may spend your evening cold, frustrated and fumbling in the dark instead of stargazing from the deck.
The good news is that learning how to pack for a glamping trip is mostly about asking the right questions before you zip your bag. This guide walks you through why glamping packing differs from regular camping, how to pick your season and booking window, and the layering system that keeps you comfortable after sunset. We also cover sleep essentials, kitchen gear, lighting and weather-ready extras, plus a full checklist you can use for trips of two to four nights.
Why Packing for Glamping Is Different From Camping
The biggest mistake first-time glampers make is packing as if they are pitching a tent in the wilderness. In reality, glamping sites provide the bed, often lighting, and sometimes even cooking gear. That means your bag should focus on comfort layers and personal items rather than shelter, sleeping pads and camp furniture you would haul on a traditional camping trip.
Before you write a single item on your list, contact the site and confirm exactly what is included. Linen quality, towels, kitchen access and heating vary enormously between operators, and these details determine half of what you bring. A tent with proper duvets and a wood stove needs far less from your bag than a safari-style canvas setup with thin sheets and no heat source.
Pack soft, not hard
Choose a soft duffel over a hard suitcase. Many sites involve gravel paths, grass fields or a short walk from the parking area, and wheels are useless on that terrain. A 40-60L duffel or soft bag suits most glamping trips of 2-4 nights, and it stows easily under a bed or in a tent corner. If you are unsure what the terrain looks like, ask the operator when you confirm what is included; they will tell you honestly whether you can park next to your accommodation or should plan to carry everything a few hundred meters.
Choosing the Right Season and Booking Window
Timing shapes both your budget and your packing list, so it pays to think about your dates before you write a single item on your list. Summer, especially July and August, offers the warmest and most reliable weather, which is why popular sites book out 3-6 months ahead. If you want a specific tent or a weekend slot in peak season, treat booking like buying concert tickets: decide early and reserve as soon as dates open. Waiting until spring usually means choosing from whatever is left, and the best units tend to go first.
Shoulder seasons in May-June and September are the smart traveler’s secret. Rates drop, sites are quieter, and the landscape is often at its best, with fewer crowds at viewpoints and trails. The trade-off is temperature: nights can fall below 10°C even when days reach a pleasant 25°C. That swing catches many first-time glampers off guard, so pack for those cold evenings rather than the afternoon forecast, and you will enjoy the shoulder season fully.
- Check the stated operating season before you fall in love with a site. Many luxury tent operations close entirely from November to March, so a winter date may only be possible at cabins, domes or lodges rather than canvas accommodation.
- Match your booking window to the season. Summer needs 3-6 months of lead time at popular sites, while shoulder-season trips typically come together with 2-3 months of planning.
- Ask about heating when booking off-peak. A tent with a wood stove or electric heater changes your clothing list dramatically compared with an unheated canvas setup in September.
Clothing: The Layering System That Works
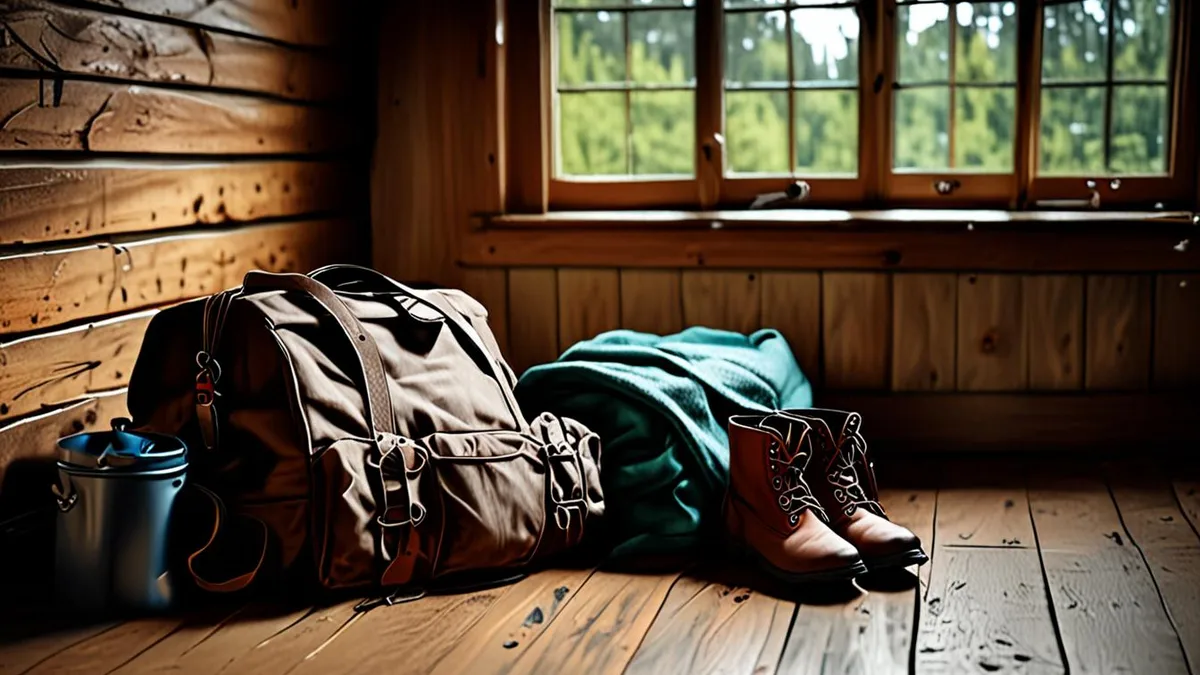
Canvas walls look romantic in photos, but they lose heat fast once the sun goes down. The fix is a simple three-layer system you can add or shed as temperatures swing. Start with a breathable base layer, add an insulating mid-layer such as fleece or wool, and top it with a wind- and rain-proof shell. This combination handles everything from a chilly morning coffee on the deck to an evening walk between tents.
Even in midsummer, pack one warm hat and a pair of wool socks. Tent interiors can drop 10 degrees or more after sunset, and cold feet are the fastest way to ruin a good night’s sleep. The same logic applies to footwear: sturdy closed shoes or light hikers for gravel paths and damp grass, plus sandals for lounging in the tent or on the deck. If your trip includes an upscale resort with lodge dinners, add one smart-casual outfit so you feel comfortable at the table rather than underdressed in hiking gear. For inspiration on how dramatic a glamping-style night can get, see how guests at the Arctic TreeHouse Hotel in Finnish Lapland watch the northern lights from a warm, glass-walled suite; the right layers matter even more up there.
- Choose quick-drying fabrics over cotton. Merino wool and synthetic blends handle morning dew and drizzle far better than a cotton hoodie, which stays damp for hours.
- Bring a dedicated set of camp-evening clothes. Changing out of your daywear into something dry and warm at dusk signals your body it is time to sleep and keeps your daytime layers fresh longer.
- Pack a light pair of gloves for shoulder-season trips. Hands get cold fastest when you are holding a mug outside, and thin liner gloves take up almost no space in your duffel.
- Keep one spare pair of socks in a separate bag. If your shoes soak through on a wet walk, dry socks waiting in a waterproof pouch turn a miserable evening into a minor inconvenience.
Sleep Comfort: Bedding and Nighttime Essentials
Sleep is where glamping either delivers or disappoints. Most sites provide a real bed with linens, but the quality varies enormously from crisp duvets to thin, well-worn sheets. Before you decide what to bring, ask the operator directly about their bedding, then use that answer to guide your packing.
If linen quality is uncertain, a sleeping bag liner is your insurance policy. Pick one rated for temperatures roughly 5-10°C below the site’s forecast overnight low, and you will stay comfortable even if the provided bedding turns out to be a single summer-weight sheet. Liners also add a clean layer between you and bedding that has hosted many guests before you.
The second trick is a compact blanket. Canvas tents lose heat quickly after sunset, and a down or wool throw weighs almost nothing in your bag while making the difference between shivering and sleeping well. It also earns its keep during the day draped over your shoulders on the deck with a morning coffee.
- Earplugs: foam or silicone pairs block rustling wildlife, snapping branches and neighboring tents, all of which sound much louder through thin canvas walls than through a hotel window.
- Sleep mask: canvas lets in the first light of dawn, so a contoured mask that sits off your eyes lets you sleep past sunrise even in a bright tent.
- Silk or cotton liner: silk packs smaller and feels cooler, while cotton breathes well and washes easily, so choose based on whether you run hot or cold at night.
- Compact blanket: down packs smaller per gram of warmth, while wool keeps insulating even if dew or rain dampens it, which matters on a tent deck.
Kitchen and Cooking Gear: What to Bring vs. What to Expect
One of the biggest packing mistakes glampers make is hauling a full camp kitchen to a site that already has one. Most glamping kitchens supply pots, plates and cutlery, and many include a stove or grill. Call ahead and ask exactly what is on site before you pack a single pan, and you will save yourself half a duffel. This matters even more if you are traveling with a 40-60L duffel, where every cubic inch counts and a redundant skillet can crowd out clothing you actually need.
What remote sites rarely stock are the small things that make meals enjoyable. Your own coffee setup, a few spices, cooking oil and your favorite snacks are almost always worth bringing. If you have ever tried to make camp breakfast without salt, you know how much these little items matter. A compact pour-over or French press takes up almost no space and turns a basic morning into something you look forward to.
Refrigeration is the other question to ask about. If your tent or shared kitchen has no fridge, a hard-sided cooler with ice packs becomes your food storage, and reusable water bottles keep you hydrated between trips to the water source. Ask how far the nearest potable water or ice is, too, since that affects how much you carry in.
- Biodegradable soap and a sponge: many sites wash dishes at outdoor stations, and these two items let you clean up properly without stripping grease into the ground.
- Two-burner check: if the site only offers a single burner or a shared grill, plan one-pot meals rather than recipes that need simultaneous pans.
- Refillable spice kit: a small tackle box or pill organizer holds salt, pepper, chili flakes and dried herbs without bringing full supermarket jars.
- Cooler packing order: pack drinks on the bottom, items you will use last in the middle, and tonight’s dinner on top so you open the lid less and ice lasts longer.
- Trash bags: remote sites often require you to pack out your own garbage, so bring more bags than you think you need.
Tech, Lighting and Weather-Ready Extras
Glamping sites often sit well away from town lights, and the lighting situation can range from fairy lights on the deck to nothing at all. A headlamp with 200+ lumens plus spare batteries beats a phone flashlight every time, because it leaves your hands free for unlocking doors, carrying dishes or finding your way down a gravel path after dark.
Electricity is the next thing to confirm. Some luxury tents have full outlets, while others offer a single shared socket or none at all. A rechargeable lantern covers the tent interior, and a power bank in the 10,000-20,000mAh range keeps phones, cameras and e-readers charged across a multi-night stay.
Weather-ready extras round out the kit. Waterproof bags protect your electronics during a sudden storm, and a compact first-aid kit plus insect repellent handle the minor scrapes and bites that come with any outdoor setting. If you are starting from scratch, budget $150-400 for quality extras like a down blanket and a camp lantern, and you will use them on every trip for years.
- Red-light mode: many headlamps include a red setting that preserves your night vision and disturbs tent mates far less than a white beam at midnight.
- Power bank capacity math: a 10,000mAh bank typically recharges a modern phone around two times, so size up to 20,000mAh if you are also charging a camera or tablet.
- Dry bag sizes: a small roll-top pouch fits phones and passports, while a larger one protects a camera body or a change of clothes in a downpour.
- First-aid specifics: blister plasters, tweezers for splinters, antiseptic wipes and any personal medications cover most glamping mishaps without a bulky kit.
- Insect repellent placement: keep it by the tent door rather than inside your bag, so you can reapply before evening deck time instead of digging for it in the dark.
Your Glamping Packing Checklist at a Glance
Glamping promises comfort in the wild, yet forgetting one key item can turn a luxury escape into a cold, frustrating night. The good news is that a 2-4 night trip needs surprisingly little: clothing layers, sleep comfort, kitchen basics and weather-ready extras. A 40-60L soft duffel holds all of it, and you can lay everything out on a bed in under an hour using the checklist above.
Two habits prevent most packing mistakes. First, book early: summer at popular sites typically fills up 3-6 months ahead, and confirming what the site provides, from linen to kitchen gear, stops you from both overpacking and leaving gaps. Second, plan for the cold hours, not the warm ones. With the right layers, lighting and bedding backup, glamping delivers the comfort it promises in any season. If this checklist helped, leave a comment or share the article with a fellow traveler.