So you’ve decided to try glamping, and suddenly you’re staring at photos of bell tents, geodesic domes, safari lodges and yurts, wondering which one actually fits your trip. You’re not alone. Most first-time glampers assume a tent is a tent, then book something that’s either too rustic for their taste or far more expensive than they needed. The truth is that each glamping tent type behaves very differently, and the right choice depends on the season, your budget and the comforts you refuse to give up.
This guide walks you through the whole decision step by step. We’ll break down the four main tent types and what each one really offers, show you how to match your tent to the weather, and help you set a realistic budget. Then we’ll cover the comforts worth paying for, the best time to book, and how to check a site’s location and access before you commit. By the end, you’ll know exactly what to look for.
Know the Main Glamping Tent Types
Before comparing prices or locations, get clear on the four tent types you’ll encounter at most glamping sites. Each one sits at a different point on the scale from “fancy camping” to “hotel room made of canvas,” and knowing the difference saves you from booking surprises.
Bell tents are the classic entry point: round, low-slung canvas structures that feel romantic and simple. Safari lodge tents sit at the luxury end, essentially hotel suites with canvas walls. Geodesic domes are the modern option, all curved windows and futuristic shapes, while yurts and cabin tents are the sturdy workhorses you’ll find at established resorts that operate year-round.
Here’s a quick breakdown of what sets each type apart:
- Bell tents: The circular canvas design sheds rain well and creates a surprisingly airy interior, with a central pole and plenty of standing room. They typically sleep 2-5 guests, making them ideal for couples or small families, and they rent for about $100-250 per night.
- Safari lodge tents: These usually span 40-60 square meters, which is closer to a hotel room than a tent. Solid raised floors, real furniture and en-suite bathrooms come standard, so you never walk to a shared washhouse in the dark.
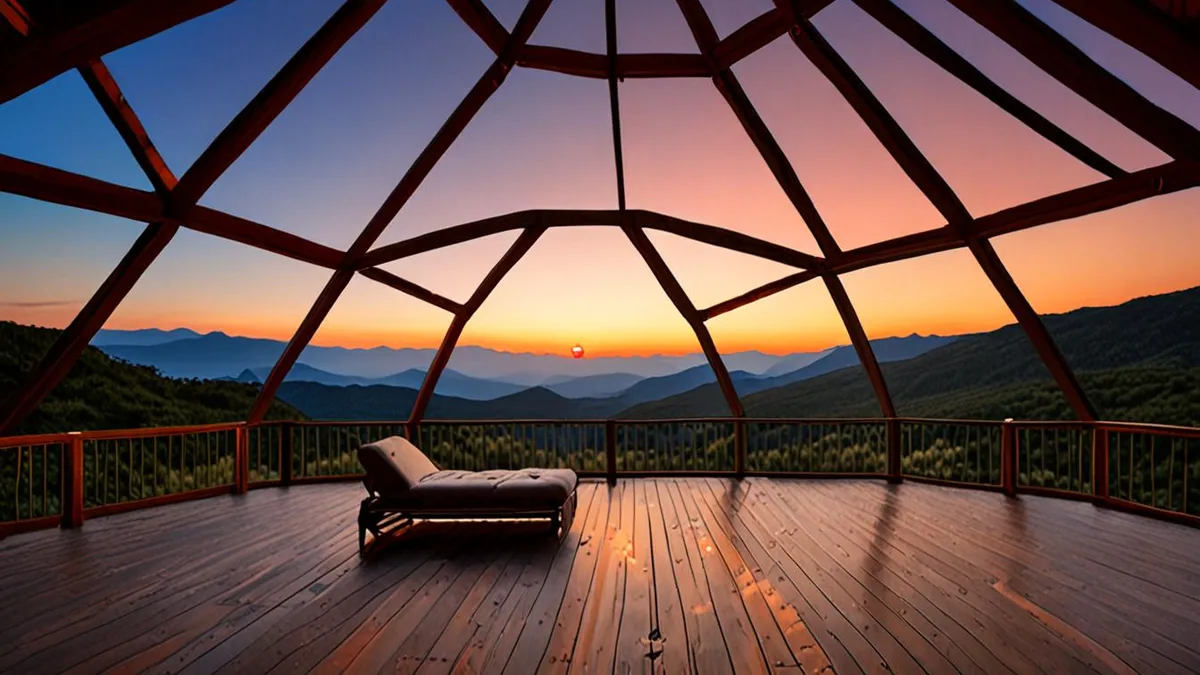
- Geodesic domes: The triangular panel structure is inherently strong and insulates better than flat canvas, which is why domes dominate cold-weather glamping. Large panoramic windows turn stargazing and mountain views into a feature of the room itself.
- Yurts and cabin tents: Their rigid frames and solid elements make them suitable as year-round structures. Established resorts favor them because they withstand wind and repeated use, and they often include proper heating setups.
If you’re unsure where to start, a bell tent offers the best value for a first trip, while a safari lodge tent is the safest bet if you want the experience to feel as close to a hotel as possible.
Match the Glamping Tent to the Season
The tent type you choose should follow the calendar, not the other way around. Canvas and weather have a complicated relationship, and booking the wrong structure for the wrong month is the fastest way to ruin a first glamping trip.
Warm-weather choices
Canvas bell tents are warm-weather stays at heart. They shine from late spring to early autumn, when nights are mild and you can keep the canvas vents open. In colder or wetter months, a thin canvas shell can feel damp and chilly, no matter how many blankets the site provides. If your trip falls in summer, a bell tent is usually the most affordable and most atmospheric option.
Cold-weather choices
Geodesic domes are the pick for colder trips. Their insulated panel construction holds warmth far better than canvas, and in alpine regions they’re typically usable from around October through April, when bell tents have long been packed away. Picture snow outside the panoramic window and a warm interior inside — that’s the dome’s whole appeal.
Whatever structure you book, always confirm the climate setup before paying. Ask specifically whether heating, a wood stove or air conditioning is included in the rate, because some sites supply them only as paid extras. A dome without heating in January, or a bell tent without airflow in August, turns a dream stay into an uncomfortable one. A quick message to the site before booking is all it takes.
Set a Realistic Budget
Glamping prices vary wildly, and first-timers often get sticker shock in either direction. A basic bell tent might cost less than a motel room, while a safari lodge with a private hot tub can rival a boutique hotel. For a comfortable first glamping trip, budget roughly $150-400 per night depending on the tent type and the region you’re visiting.
Timing your dates to save money
Dates matter as much as tent type. Shoulder-season stays in May or September often cost 20-40% less than peak summer, and you get a bonus: fewer crowds, quieter sites and more attentive hosts. The weather in these months is usually still pleasant enough for canvas accommodation, so you sacrifice very little. If your schedule is flexible, shifting your trip by a few weeks is the single easiest way to cut costs.
What’s actually included in the rate
Before comparing nightly prices, check what each rate bundles in. Some glamping sites include meals, activities like kayaking or guided hikes, and airport or town transfers; others charge for every add-on separately. A $200-per-night stay with all meals included can be better value than a $150-per-night tent where you’re driving to restaurants twice a day and paying for activities on top.
Ask the site directly for a full list of inclusions before you book. Note that local taxes or tourist fees may apply on top of the advertised rate, and these change from place to place, so confirm the final total at checkout. A clear picture of the true cost keeps your budget realistic and your first trip stress-free.
Decide Which Comforts You Cannot Skip
Before you compare photos of stylish tents, decide which comforts actually matter to you. The single biggest divider between tent types is the bathroom situation. Safari-style lodge tents usually come with an en-suite bathroom, while smaller canvas bell tents at many sites share a central washroom block. Neither option is wrong, but waking up at 2 a.m. in the rain to walk to a shared toilet feels very different from having one a few steps from your bed.
The next dividing line is what separates true glamping from upgraded camping. A real bed with a proper mattress, some form of heating and working electricity are the basics most first-timers expect. If a listing is vague about any of these, email the host and ask directly. Also think about what you will actually do at the site. If you plan to spend your days hiking, you may not need many extras, but if this trip marks an anniversary or a milestone birthday, the little luxuries become the point.
- Private decks or terraces give you a spot for morning coffee and sunset views without leaving your tent, and they double the usable space of a smaller unit.
- Wood-fired hot tubs are common at mountain and forest sites, but they often need an hour to heat, so check whether the host preps it for you or you light it yourself.
- Outdoor showers feel wonderful in warm months but can be chilly in shoulder season, so confirm whether there is an indoor option too.
- Kitchenettes or breakfast service matter more than you think, because many glamping sites sit far from restaurants and shops.
Book at the Right Time
Glamping sites are usually small operations, often with only a handful of tents on the whole property, so good dates sell out much faster than comparable hotel rooms. A single busy weekend can wipe out a month’s availability at a popular site. That means a little planning goes a long way, especially if you have your heart set on summer. Follow this simple sequence when you book your first stay.
- Pick your dates and a backup window. Flexibility of even a few days dramatically increases your options, since most sites have limited inventory per weekend. If your first-choice weekend is full, a neighboring one may still have space.
- Reserve early for peak season. For stays between June and August, book 3-6 months in advance. Popular sites with hot tubs or famous views can fill their summer calendar well before spring arrives, leaving latecomers with midweek dates only.
- Check the minimum stay rules. Most glamping sites require a 2-night minimum on weekends, so plan around that rather than hoping to squeeze in a single Saturday night. Ask about this before you fall in love with a particular tent.
- Read the cancellation policy before paying. Weather and plans change, and policies vary widely between small independent hosts and larger resorts. Some offer flexible rebooking, while others keep deposits for last-minute cancellations.
If your schedule is flexible, midweek dates are the easiest to book close to your travel date and are often cheaper than weekend rates. A Monday or Tuesday arrival can turn a fully booked site into an available one, and you will often share the whole property with fewer guests, which makes the experience feel even more private. Shoulder-season months can also help: stays in May or September often cost 20-40% less than peak summer, and availability is far easier to secure.
Check the Location and Setting
The tent is only half the experience; the setting around it shapes the whole trip. Before you compare individual listings, decide what kind of landscape you want to wake up in. A jungle site, a mountain meadow, a lakeside pitch and a coastal bluff each offer a completely different mood, temperature range and set of activities. Choosing the setting first keeps you from falling in love with a tent that sits in the wrong place for your plans.
Once you have a shortlist, look closely at how you will actually reach each site. Glamping often happens in places regular hotels avoid, which is part of the charm but also part of the logistics. Ask the host three practical questions: how far the site is from the nearest town, whether the access road suits a regular car, and what happens to your luggage when you arrive. Some remote properties require a transfer by 4×4, a boat or even a hike from a parking area, and it is much better to learn that before you pack.
- Road conditions change with weather. A dirt track that is fine in dry conditions can become muddy and difficult after heavy rain, so ask whether the route is suitable year-round.
- Distances can be misleading. A site 30 kilometers from town may take an hour on winding mountain roads, so ask for realistic driving times, not just kilometers.
- Luggage transfers usually need arranging in advance. If the site requires a walk from parking, confirm whether staff help carry bags or whether you should pack light and leave suitcases in the car.
- Self-catering sites need a supply plan. If there is no restaurant on site and the nearest shop is far away, plan your groceries for the whole stay before you arrive.
Your First Glamping Trip Made Simple
Choosing your first glamping tent comes down to three things: the season you are traveling, the budget you have set aside, and the comforts you genuinely cannot skip. A bell tent suits a warm-weather escape on a moderate budget, a dome handles colder nights, and a safari lodge tent feels closest to a hotel room. Match the tent type to your trip, and the decision becomes simple.
Once you know which style fits, book early for summer dates or shift to shoulder season to save money, then confirm the setting and how you will actually reach the site. Do that, and your first glamping trip should feel like a hotel stay under canvas rather than a gamble. If this guide helped you plan your first trip, leave a comment or share it with a friend who is ready to try glamping.